⚠️ This guide is based on the void-installer command, so it only works with the x86-64 or i686 architecture.
Void Linux is a general-purpose Linux distro. It’s independent and has its own package manager, build system, and use runit as init system.
Table of Contents
- Download Void Linux
- Live image: Base vs XFCE4
- Live image: glibc vs musl
- Create a bootable media (USB)
- Windows (Rufus)
- Linux (Command Line)
- Installation
- GNU GRUB
- Running void-installer
- Base
- XFCE4
- Void Installer
- Keyboard
- Network
- Source
- Mirror
- Hostname
- Locale
- Timezone
- RootPassword
- UserAccount
- BootLoader
- Partition
- Filesystems
- Install
Download Void Linux

Download Link: https://voidlinux.org/download/
Live image: Base vs XFCE4
Void Linux offers two image options:
-
Base Image:
- Contains the core Void Linux system.
- Ideal for advanced users who prefer to customize their system from scratch.
- No pre-installed desktop environment or graphical interface.
-
XFCE4 Image:
- Includes Void Linux, Xorg, and the XFCE4 desktop environment pre-installed.
- Perfect for users who want a “ready-to-use” system with a lightweight and efficient desktop environment.
Recommendation: If you’re new to Linux, choose the XFCE4 image!
Live image: glibc vs musl
Void Linux offers two versions of its images based on different C libraries (libc):
-
glibc (GNU C Library):
- The standard C library used by most Linux distributions.
- Highly compatible with a wide range of software.
- Feature-rich and suitable for general-purpose use.
-
musl:
- A lightweight and modern C library designed for simplicity and performance.
- Ideal for resource-constrained systems or users seeking a minimalistic setup.
- May have compatibility issues with certain software (e.g., NVIDIA drivers, Steam, Discord).
Recommendation: If you’re unsure which to choose, go with glibc!
Create a bootable media (USB)
After downloading the Void Linux live image, create a bootable USB.
Windows (Rufus)
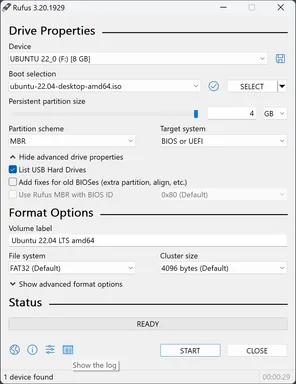
Download Link: https://rufus.ie/
To create a bootable USB on Windows, use Rufus.
Steps:
- Insert your USB drive.
- Open Rufus.
- Select your USB under Device.
- Click SELECT under Boot selection and choose the Void Linux .iso file.
- Click START.
- ACCEPT EVERYTHING!!
- Wait 😊.
- Your bootable USB is ready!
Linux (Command Line)

To create a bootable USB on Linux, use Terminal. 😎
Steps:
- Identify the device:
sudo fdisk -l- Identify your USB device (e.g., /dev/sd*).
- Umount the device:
umount /dev/sd*- Unmount the USB drive if it is automatically mounted.
- Write the Live Image to the USB:
dd bs=4M if=/path/to/void-live-ARCH-DATE-VARIANT.iso of=/dev/sd*
- Sync and Eject:
sync- Safely eject the USB drive.
Installation
After creating a bootable USB from the live image, insert it, restart your computer, and boot from the USB.
GNU GRUB
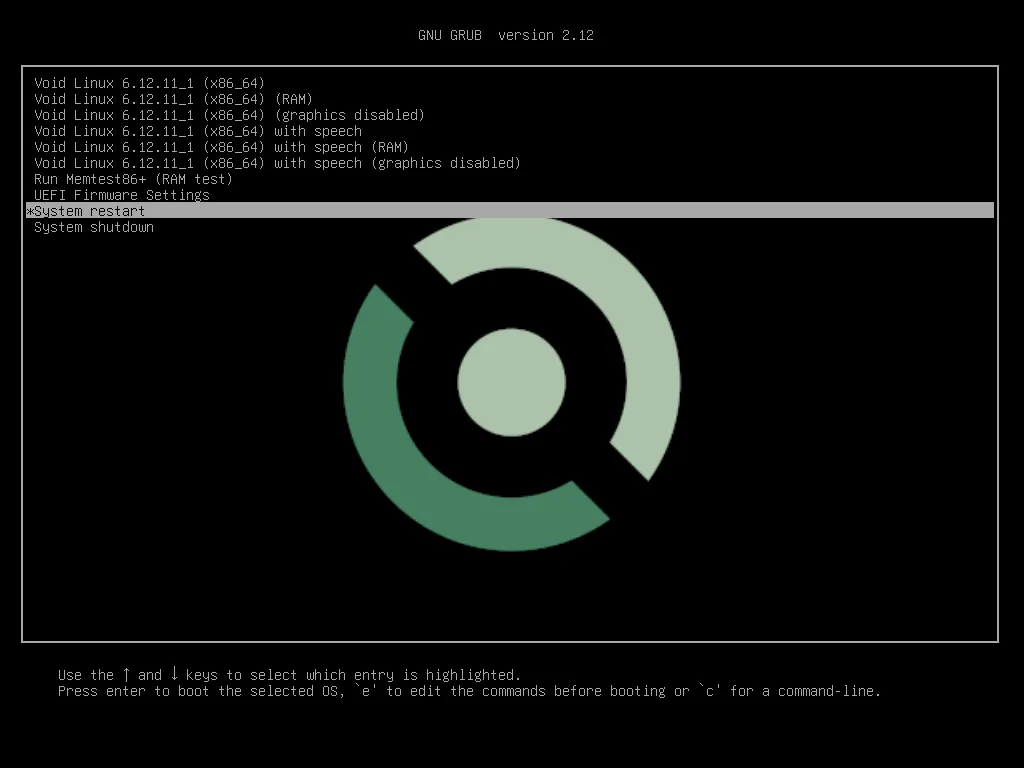
After booting from the USB, you will see the GNU GRUB menu of Void Linux. You will be presented with a few options, but the most important ones are:
- Void Linux: Boots the image directly from the disk..
- Void Linux (RAM): Loads the image entirely into RAM.
Recommendation: If you have enough RAM, choose RAM!
Running void-installer
Depending on the Void Linux live image you chose, the steps to start the void-installer vary.
Base
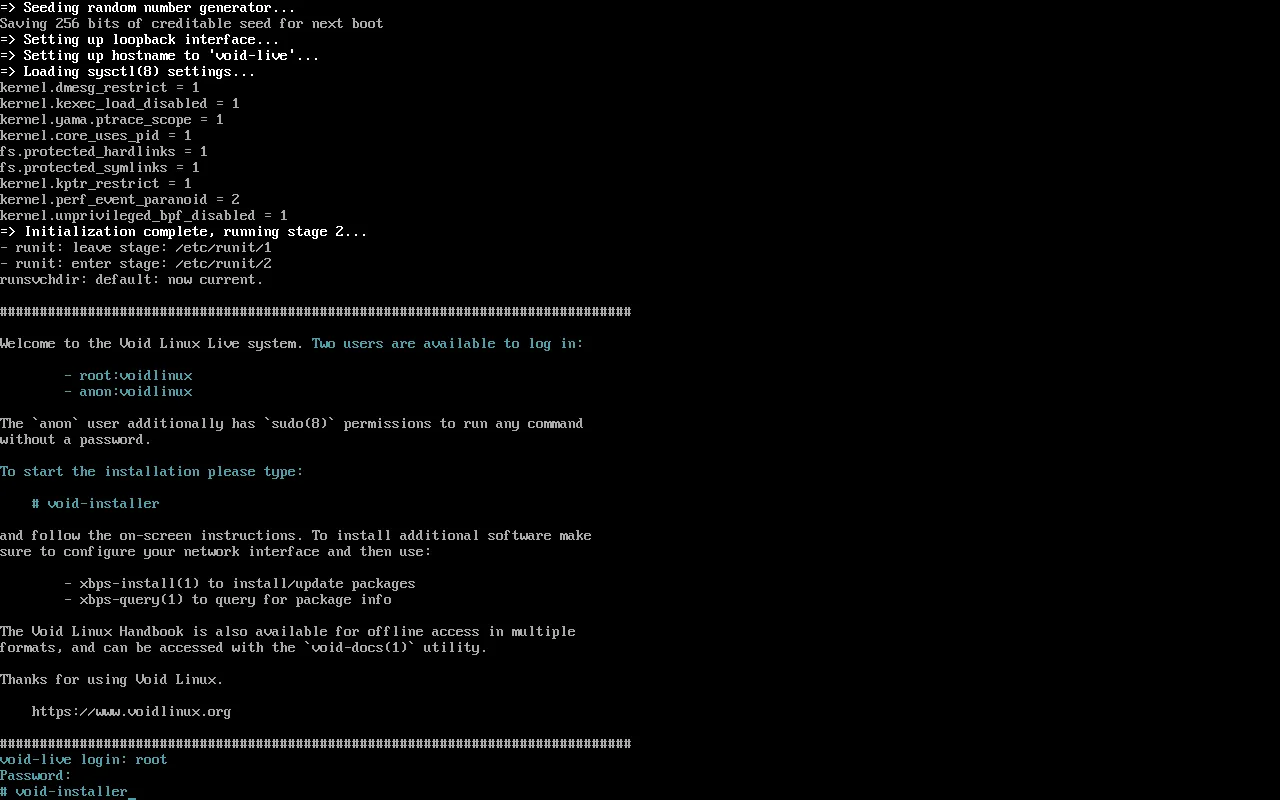
- Wait live system initalization.
- Login with user:root password:voidlinux.
- Run
void-installercommand.
XFCE4
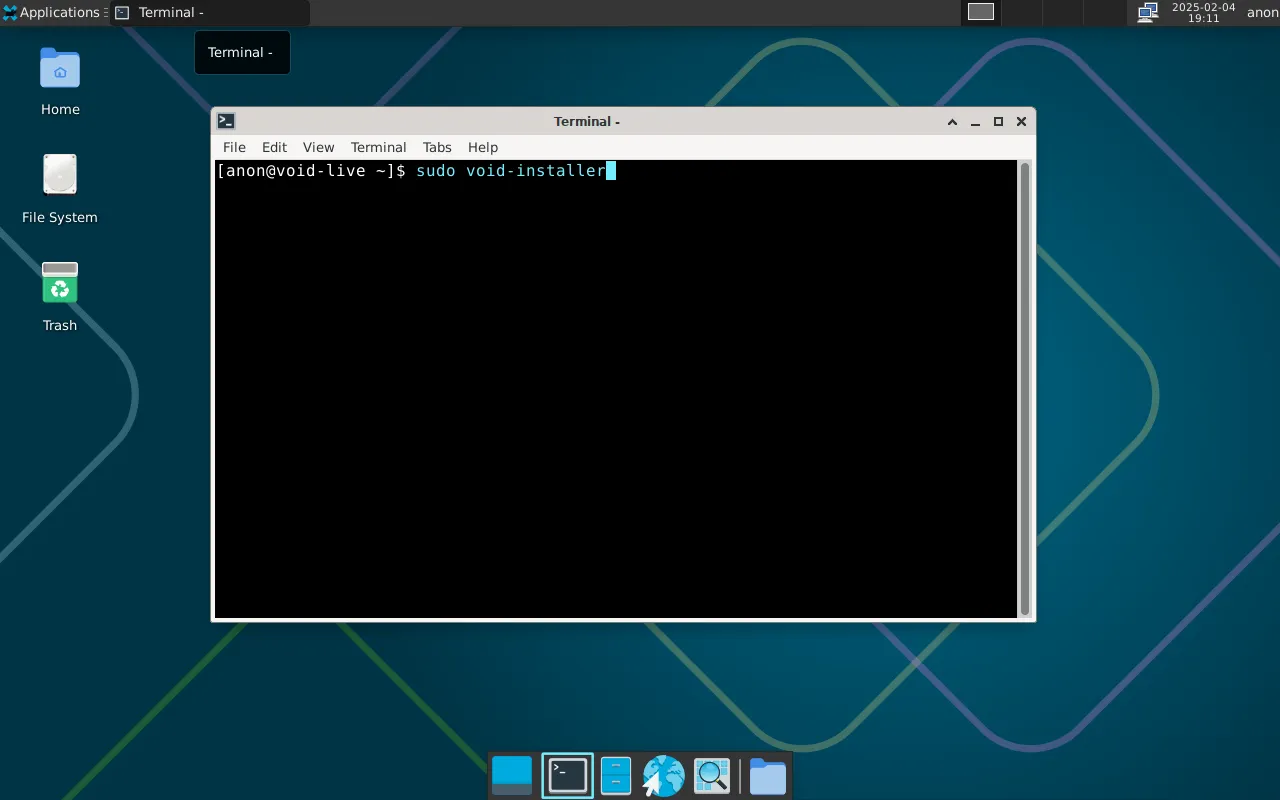
- Wait live system initalization.
- Open terminal.
- Run
sudo void-installercommand. - Enter the password:voidlinux and press Enter.
Void Installer
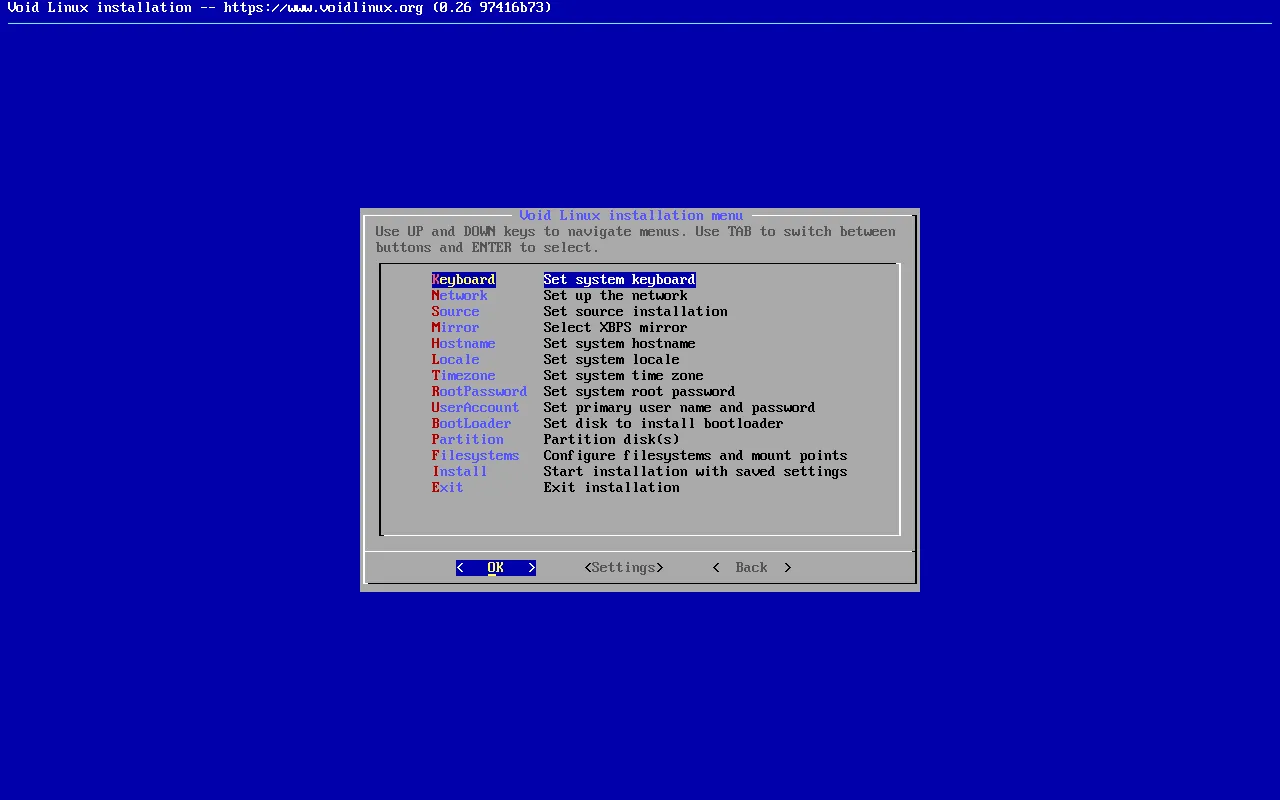
Once you execute the void-installer command, the Void Linux installation menu will appear, guiding you through the setup process.
Keyboard
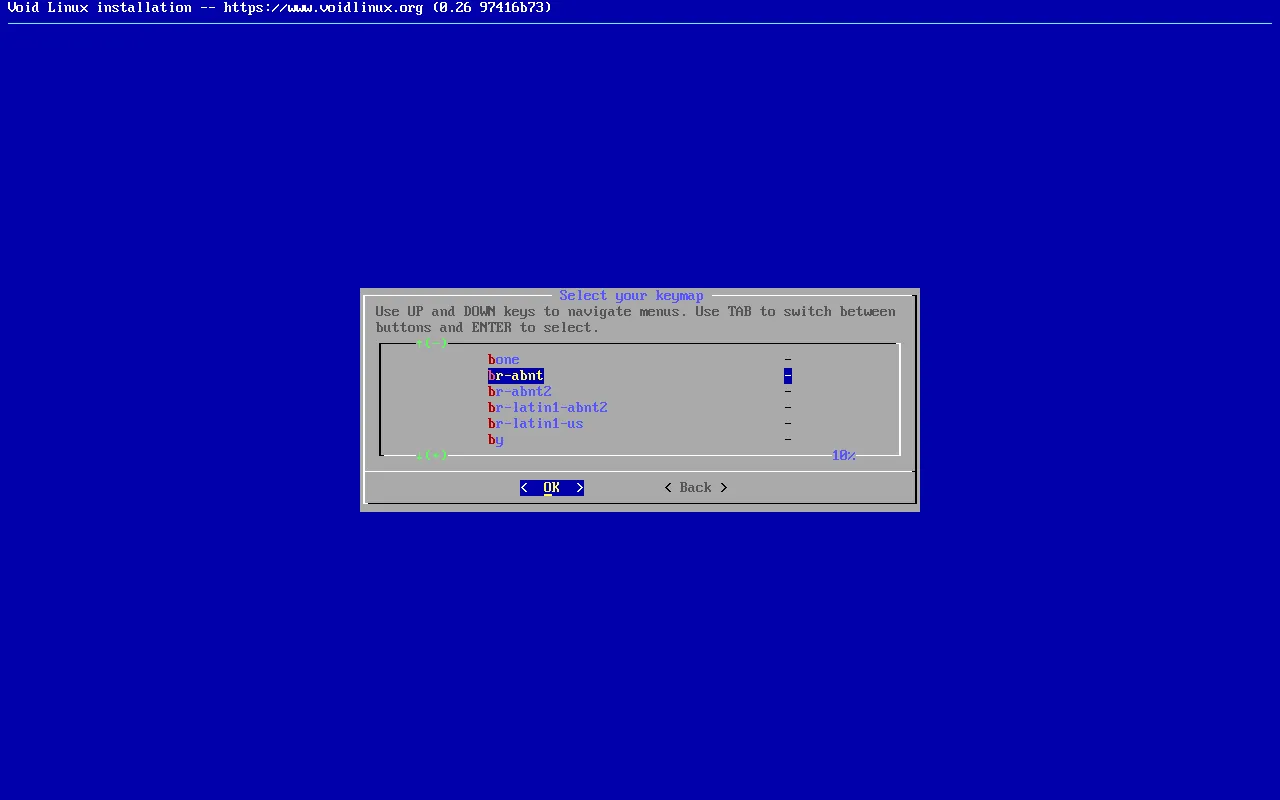
Select the keymap for your keyboard.
Network
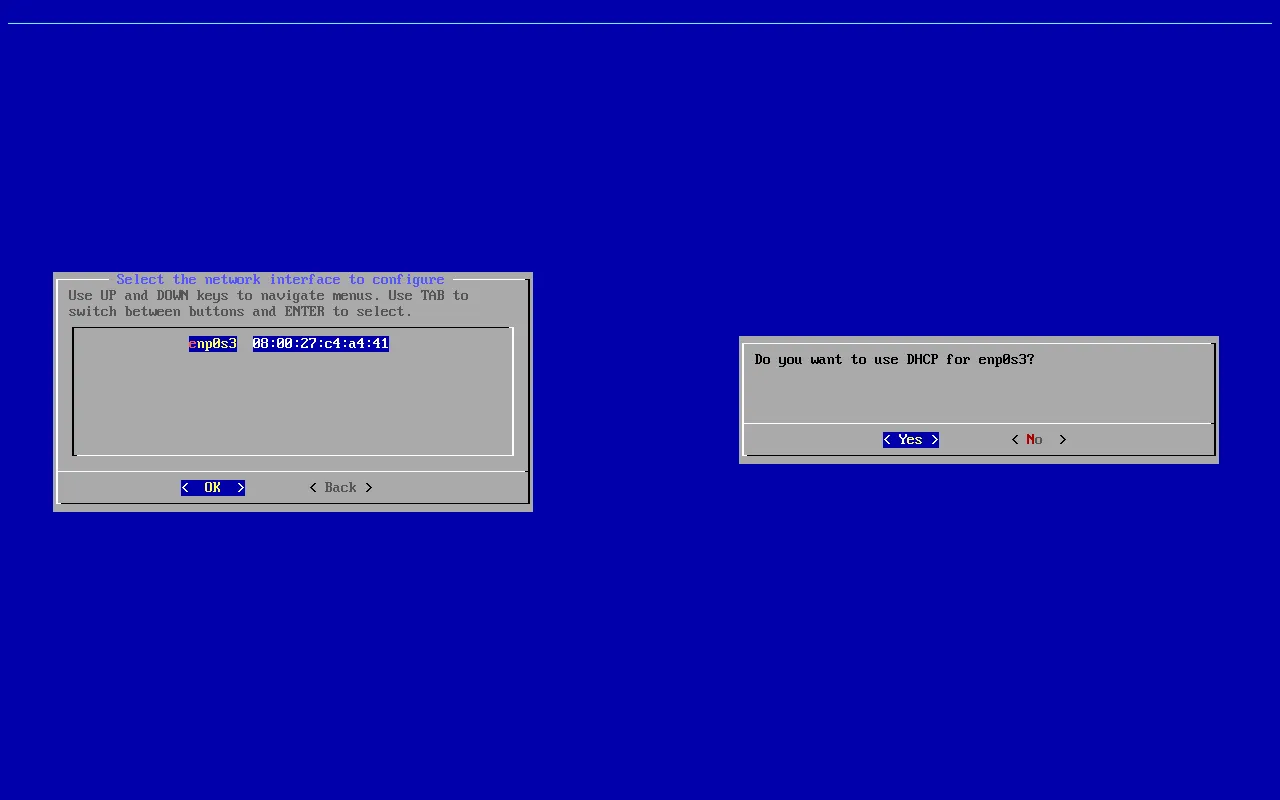
Select your primary network interface. Use DHCP for automatic IP configuration. If you’re connecting via Wi-Fi, enter the following details:
- SSID (Network Name)
- Encryption Type (WPA or WEP)
- Password
Recommendation: Most modern routers use WPA encryption. If unsure, use WPA!.
Source
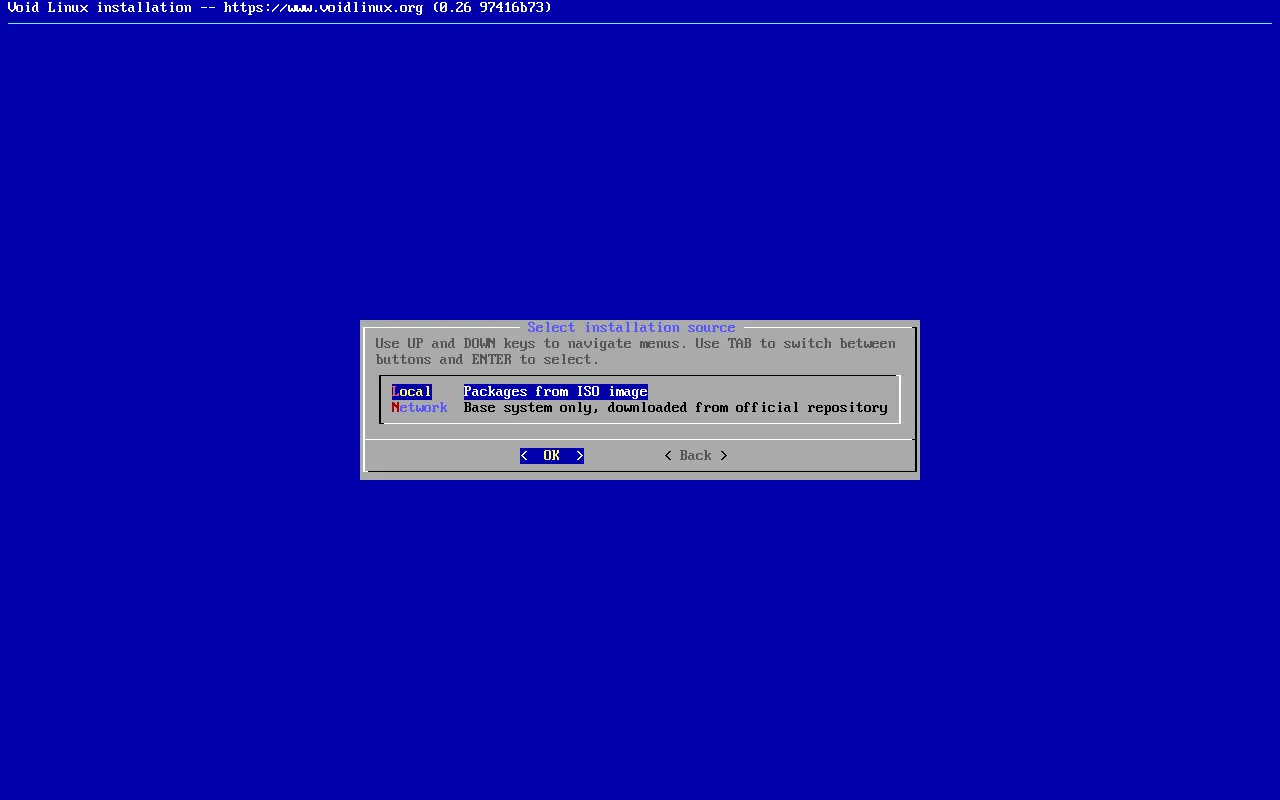
Select installation source:
- Local: Packages from ISO image.
- Network: Packages from official repository.
⚠️ If you are installing the desktop environment from the XFCE4 image, you MUST choose Local for the source!
Mirror
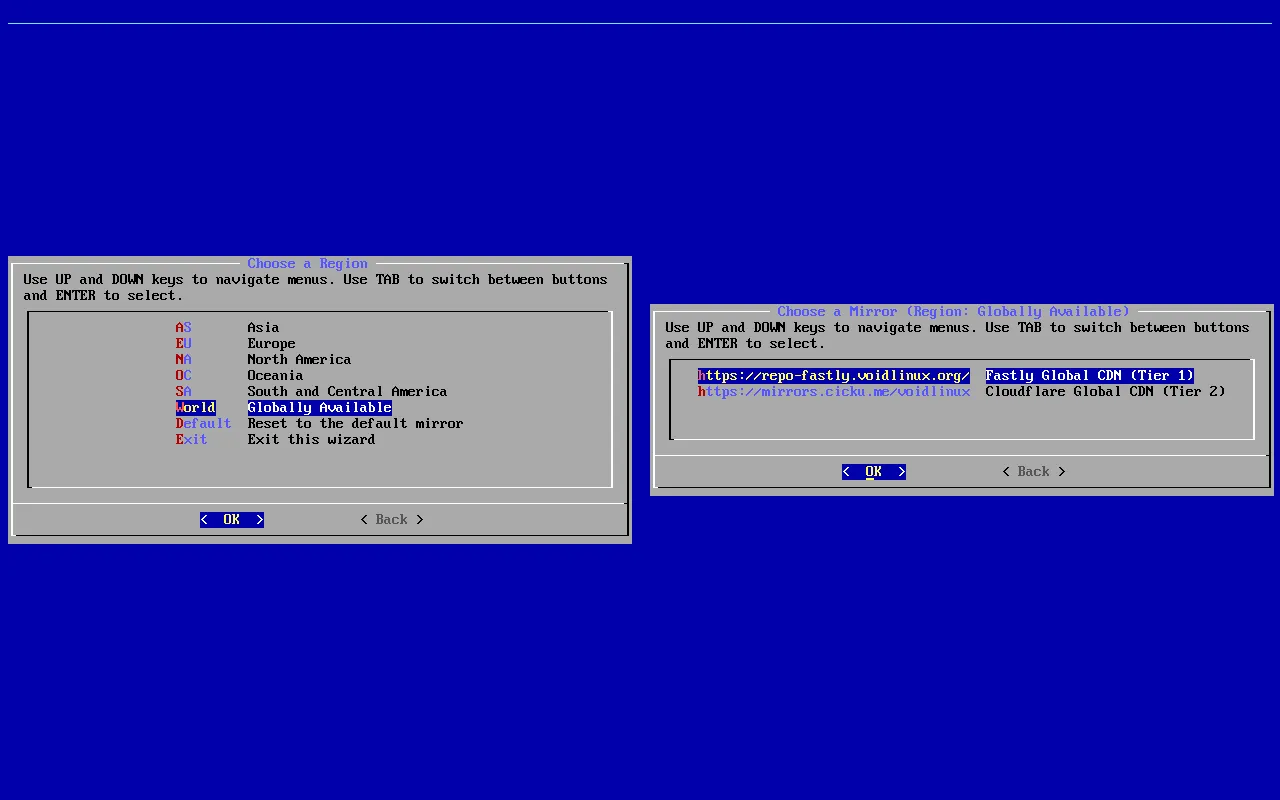
Choose a mirror for the package manager (XBPS).
Mirror Tiers:
- Tier 1: Maintained by the Void Linux team. Always up-to-date.
- Tier 2: Not maintained by the Void Linux team. May not be up-to-date.
Recommendation: Choose a Tier 1 mirror geographically close to you.
Hostname
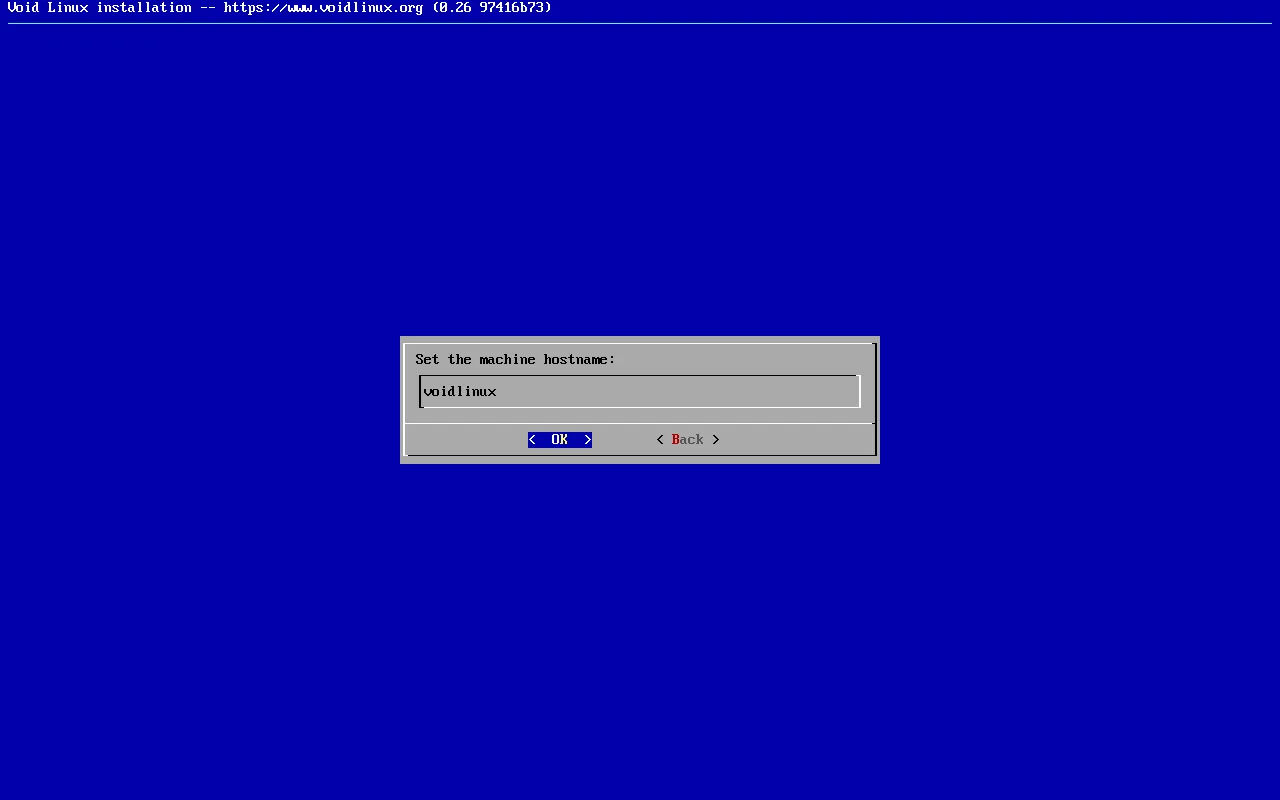
Set a hostname for your computer. (that is all lowercase, with no spaces.)
Recommendation: voidlinux
Locale
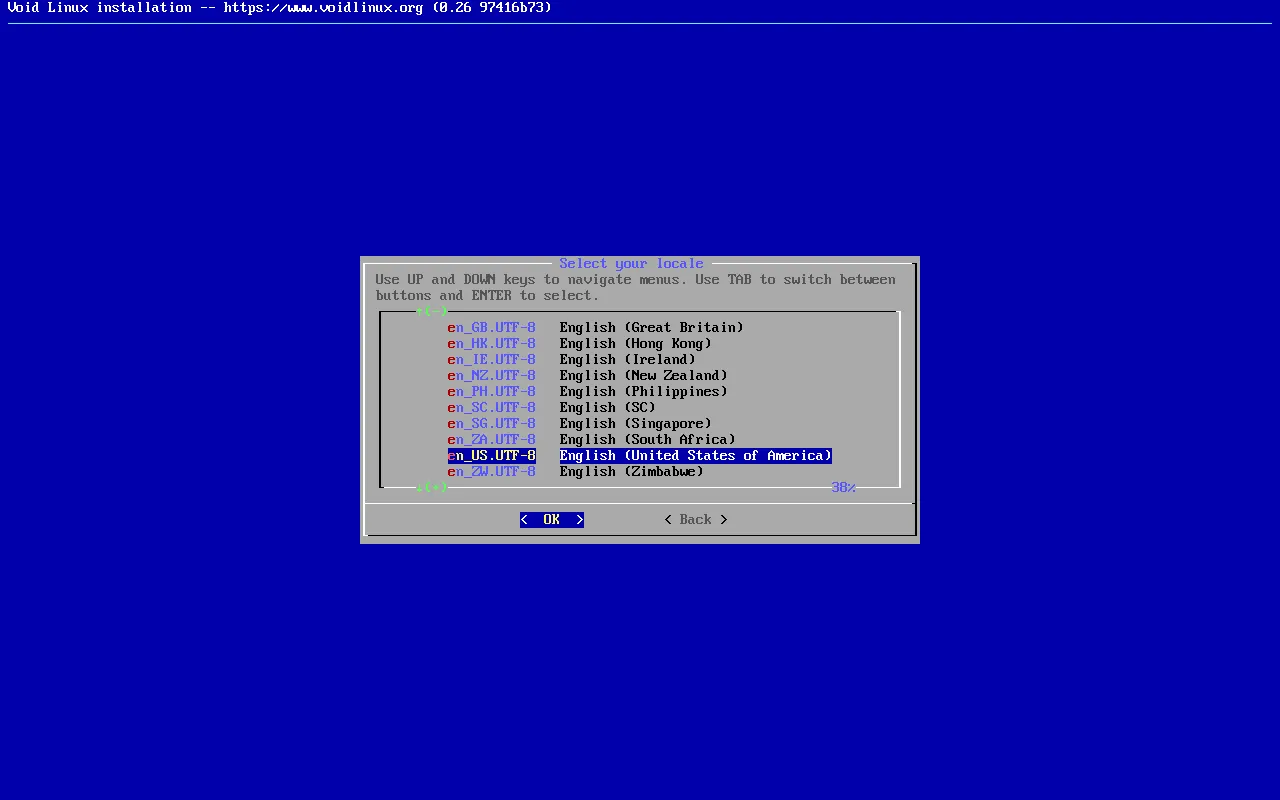
Select your locale.
Timezone
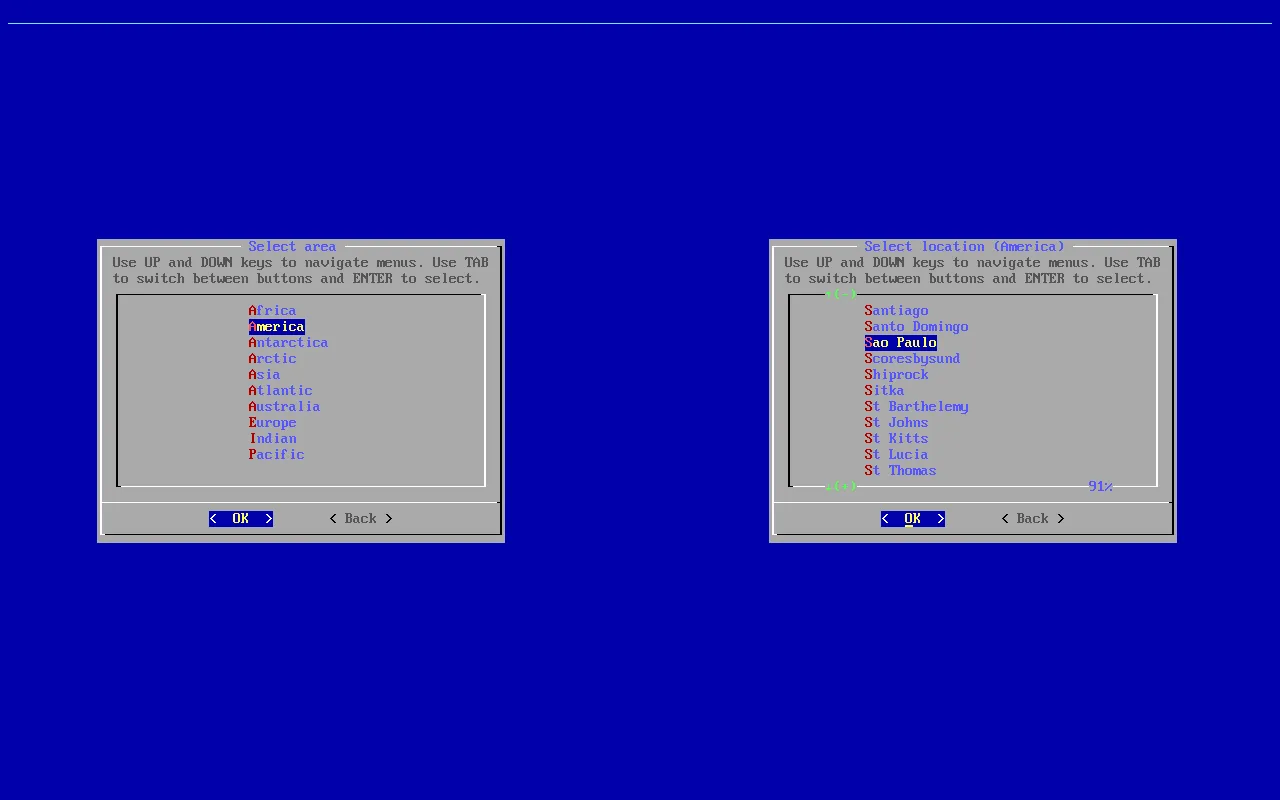
Select your timezone.
RootPassword

Enter the root password.
UserAccount
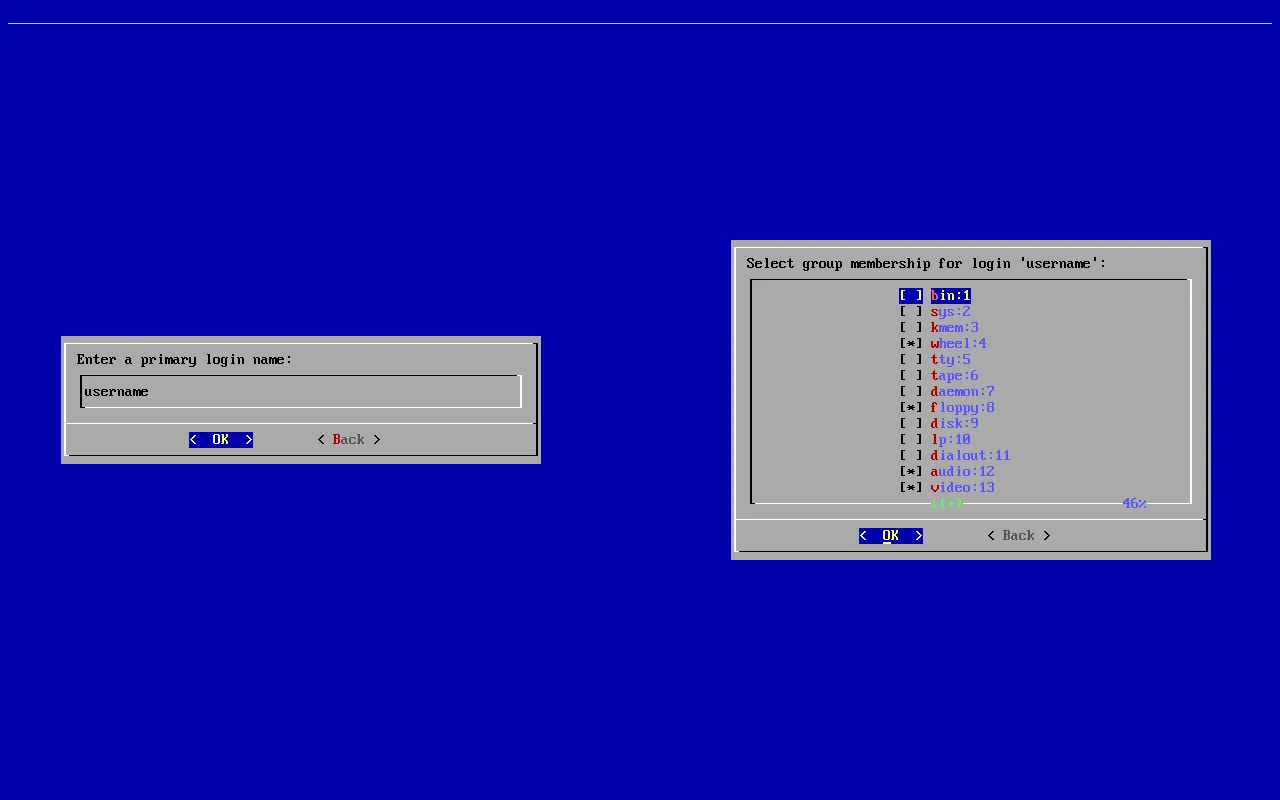
Create your user account by entering the following details:
- Login Name
- Display Name
- Password
- Groups
BootLoader
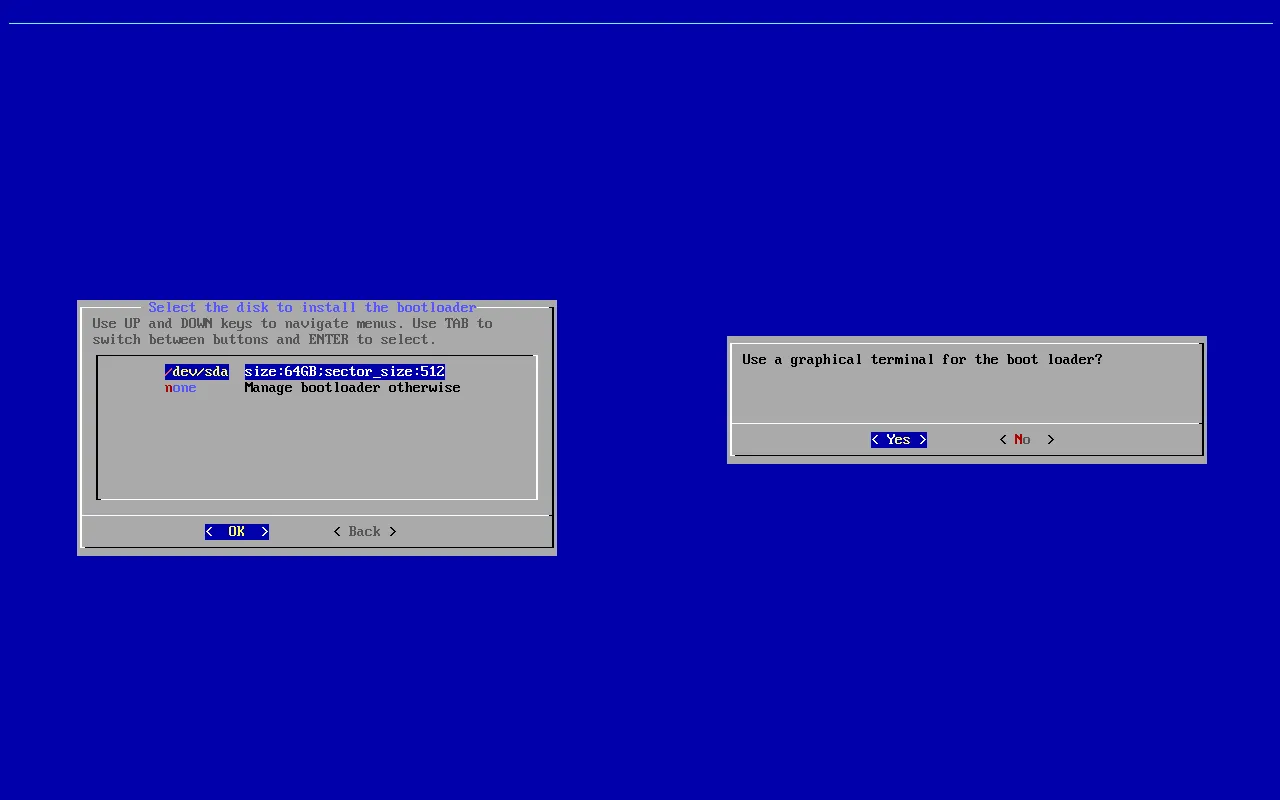
Select the disk to install the bootloader and decide whether to use a graphical terminal.
Recommendation: If you plan to customize GRUB (themes), use graphical terminal.
Partition
Disk partitioning is done manually. The Void installer provides two tools for this purpose:
- cfdisk: A user-friendly TUI (Text User Interface) Linux partition editor.
- fdisk: A CLI (Command Line Interface) Linux partition editor.
⚠️ The first partition must be the boot system.
https://docs.voidlinux.org/installation/live-images/partitions.html
Partition Table
A partition table organizes a device’s storage into sections called partitions.
There are two main types:
- MBR (Master Boot Record)
- Max 4 partitions.
- 32-bit addressing. (limits disk size to 2TB)
- Use BIOS Boot.
- GPT (GUID Partition Table)
- Max 128 partitions.
- 64-bit addressing. (limits disk size to 9.4ZB)
- Use UEFI System. (compatible with BIOS Boot)
Recommendation: Use GPT if your motherboard supports UEFI.

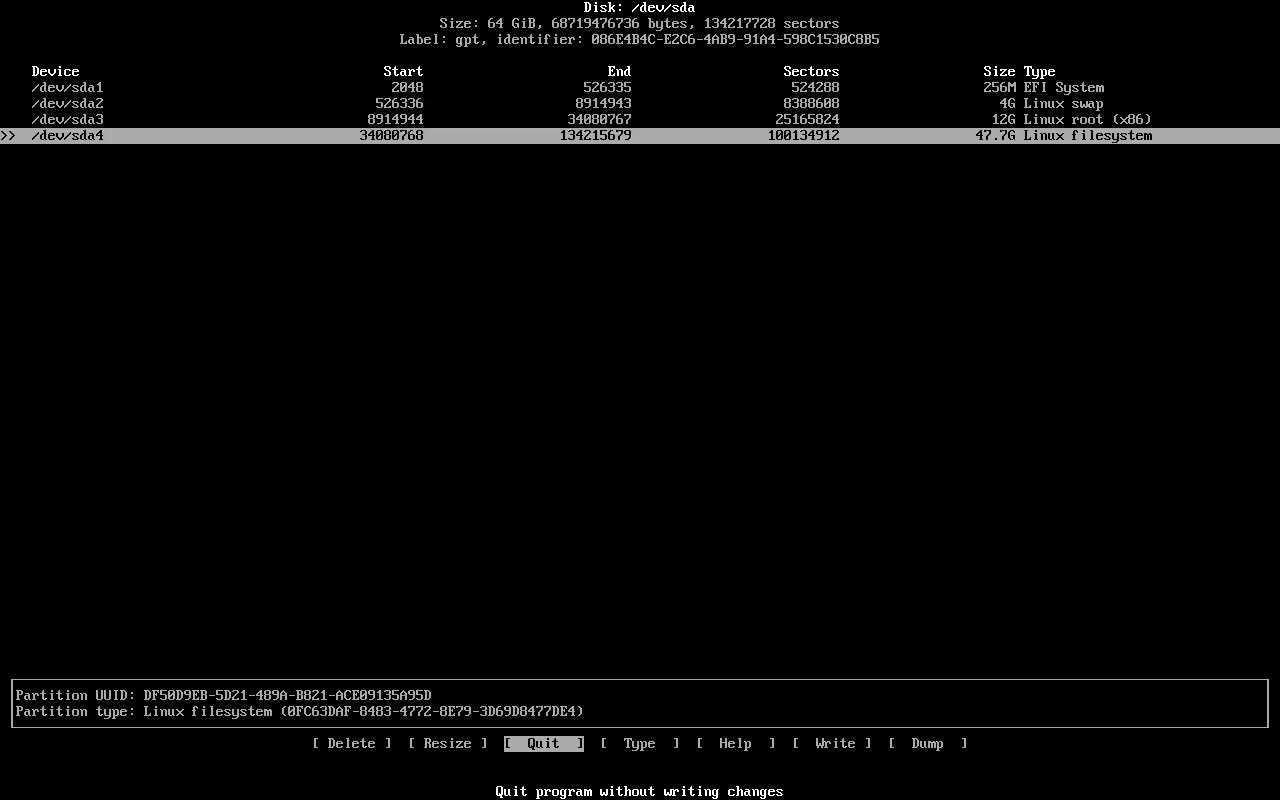
To modify the partition table, select the disk and use fdisk.
To create a specific partition table, use one of the following commands:
- g: GPT
- o: MBR
After making changes, run the w to write the changes and exit.
Recommended Partition Table (GPT)
| Type | Size | Mount Point |
|---|---|---|
| BIOS boot | 1M | |
| Linux swap | Equal to the amount of RAM | |
| Linux root | 12% to 20% of available disk space | / |
| Linux filesystem | Remaining available disk space | /home |
| Type | Size | Mount Point |
|---|---|---|
| EFI System | 256M | /boot/efi |
| Linux swap | Equal to the amount of RAM | |
| Linux root | 12% to 20% of available disk space | / |
| Linux filesystem | Remaining available disk space | /home |
Filesystems

After partitioning your disk, the next step is to assign the appropriate filesystem to each partition.
Boot System (First Partition)
- BIOS Boot: Don’t create any filesystem in it. GRUB will install itself without one.
- UEFI System: Format the partition as FAT32 and mount it to /boot/efi.
Swap
For swap partition, format it with swap filesystem.
Root
For root partition, format it with your preferred filesystem and mount it to /.
Home (optional)
If you have created a separate partition for your home directory, format it with your preferred filesystem and mount it to /home.
Recommendation: Use ext4 for root and home partitions.
Install
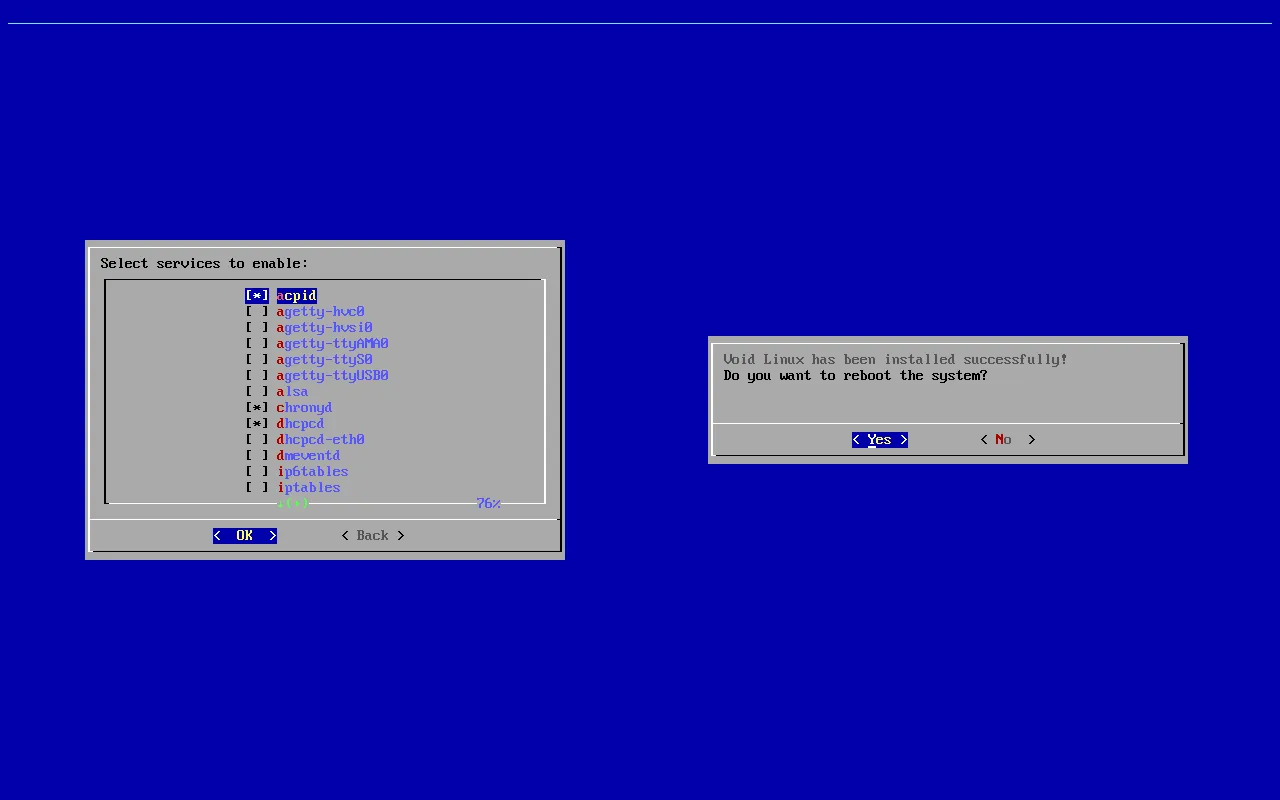
If everything is okay, the installation process will begin. Once completed, you will be presented with a menu to select or deselect services (daemons). After that, reboot your system, and Welcome to the Void!