Sorry to the 🐧 Computational Penguin Society :(
Hi! I recently switched from Void Linux to Windows 10. Why? The simple answer is: games! And as a bad programmer, I need a badass setup. so I’m here to share my development environment on Windows and a few tips.
Bloatware & Services
When you install Windows, it comes with a lot of bloatware and unnecessary services running in the background.
Removing Bloatware

The best way to remove bloatware and debloat Windows is by using Win11Debloat
Quick method
Download & run the script automatically via PowerShell.
- Open PowerShell or Terminal, preferably as an administrator.
- Copy and paste the command below into PowerShell:
& ([scriptblock]::Create((irm "https://debloat.raphi.re/")))- Wait for the script to automatically download Win11Debloat.
- Carefully read through and follow the on-screen instructions.
Piece taken from Win11Debloat README.md
Disabling Unnecessary Services (Advanced)
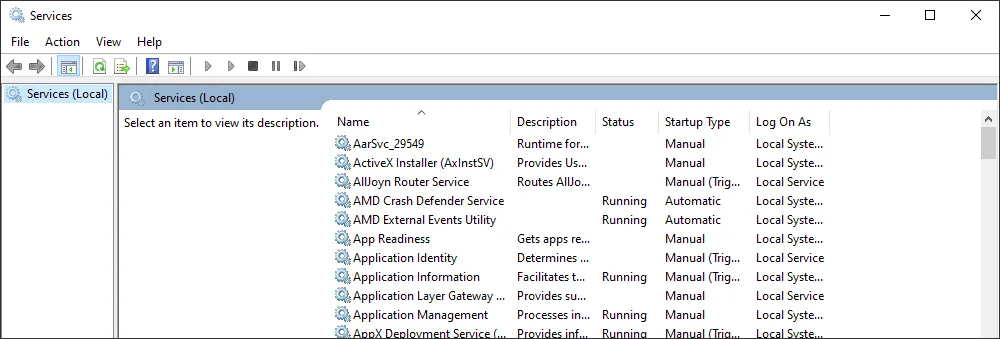
Some background services serve no purpose if you’re not using certain hardware or features. Disabling them can help reduce memory usage and background CPU activity.
Here are a few services you can safely disable:
- Print Spooler – Disable if you don’t use a printer.
- Fax Service – Disable if you don’t use fax.
- Bluetooth Support Service – Disable if you’re not using Bluetooth devices.
- AVCTP Service – Disable if you use wired headphones or no bluetooth/wireless audio devices.
- Connected User Experiences and Telemetry – For more privacy and fewer background processes.
Terminal (Windows Terminal)
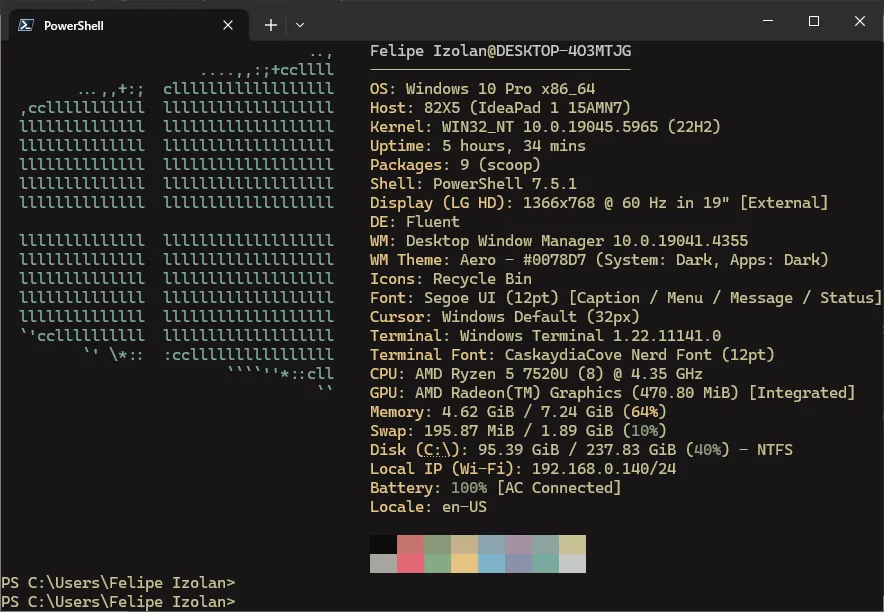
The terminal (or more accurately, the terminal emulator) is the place where programmers do their cool tasks.
Personally for Windows, my favorite is Windows Terminal, which you can download and install through the Microsoft Store.
Download Link: https://apps.microsoft.com/detail/9n0dx20hk701
Shell (Powershell v7)
By default Windows comes with Powershell v5. It’s good, but some commands and tools require PowerShell v7.
To upgrade, click the Download Link below and look for the .msi installer that matches your system architecture (e.g., x64 or ARM).
Download Link: https://github.com/PowerShell/PowerShell/releases
Set PowerShell v7 as the Default profile in Windows Terminal
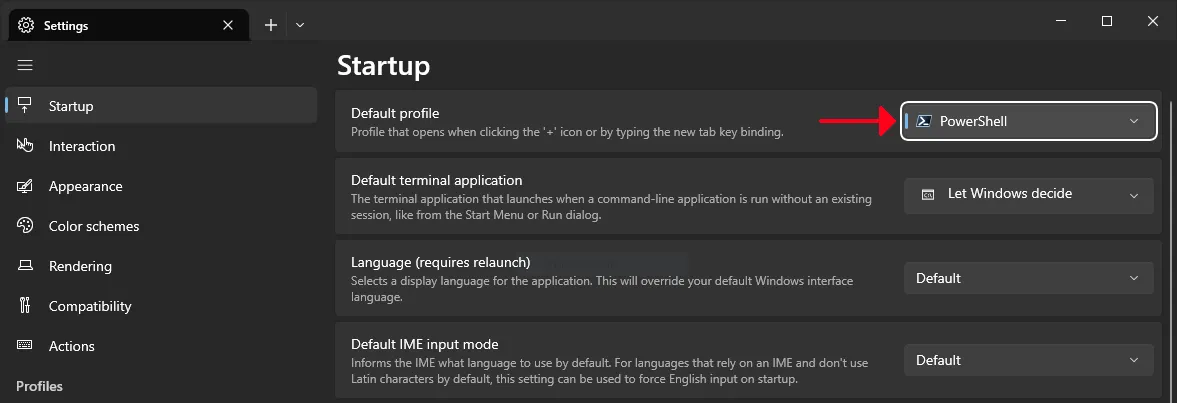
After installing PowerShell v7, make sure to set it as the default profile in Windows Terminal. To do this, navigate to:
Settings → Startup → Default profile, and select PowerShell
Scoop (Installer)

Scoop is a community-maintained command-line installer for Windows. I primarily use Scoop to install programs.
Note about Winget
Windows has its own package manager called winget, it’s a solid option but I personally prefer scoop. That said, it’s still a good idea to check winget before scoop.
Simple guide to using scoop
To install scoop, open the powershell and run following command:
Set-ExecutionPolicy -ExecutionPolicy RemoteSigned -Scope CurrentUser
Invoke-RestMethod -Uri https://get.scoop.sh | Invoke-Expression
Basic scoop commands:
scoop install <app>
scoop uninstall <app>
scoop list
Add common buckets:
scoop bucket add main
scoop bucket add extras
Scoop Buckets: https://scoop.sh/#/buckets
WSL (Windows Subsystem for Linux)

Some programs used by developers, such as Docker and Redis, only work on Unix-like systems. To run these programs on Windows, there is a solution called WSL (Windows Subsystem for Linux).
To install WSL, open the powershell and run following command:
wsl --installAfter installation, you will be able to start a Ubuntu terminal environment, install packages, start services, and more.